
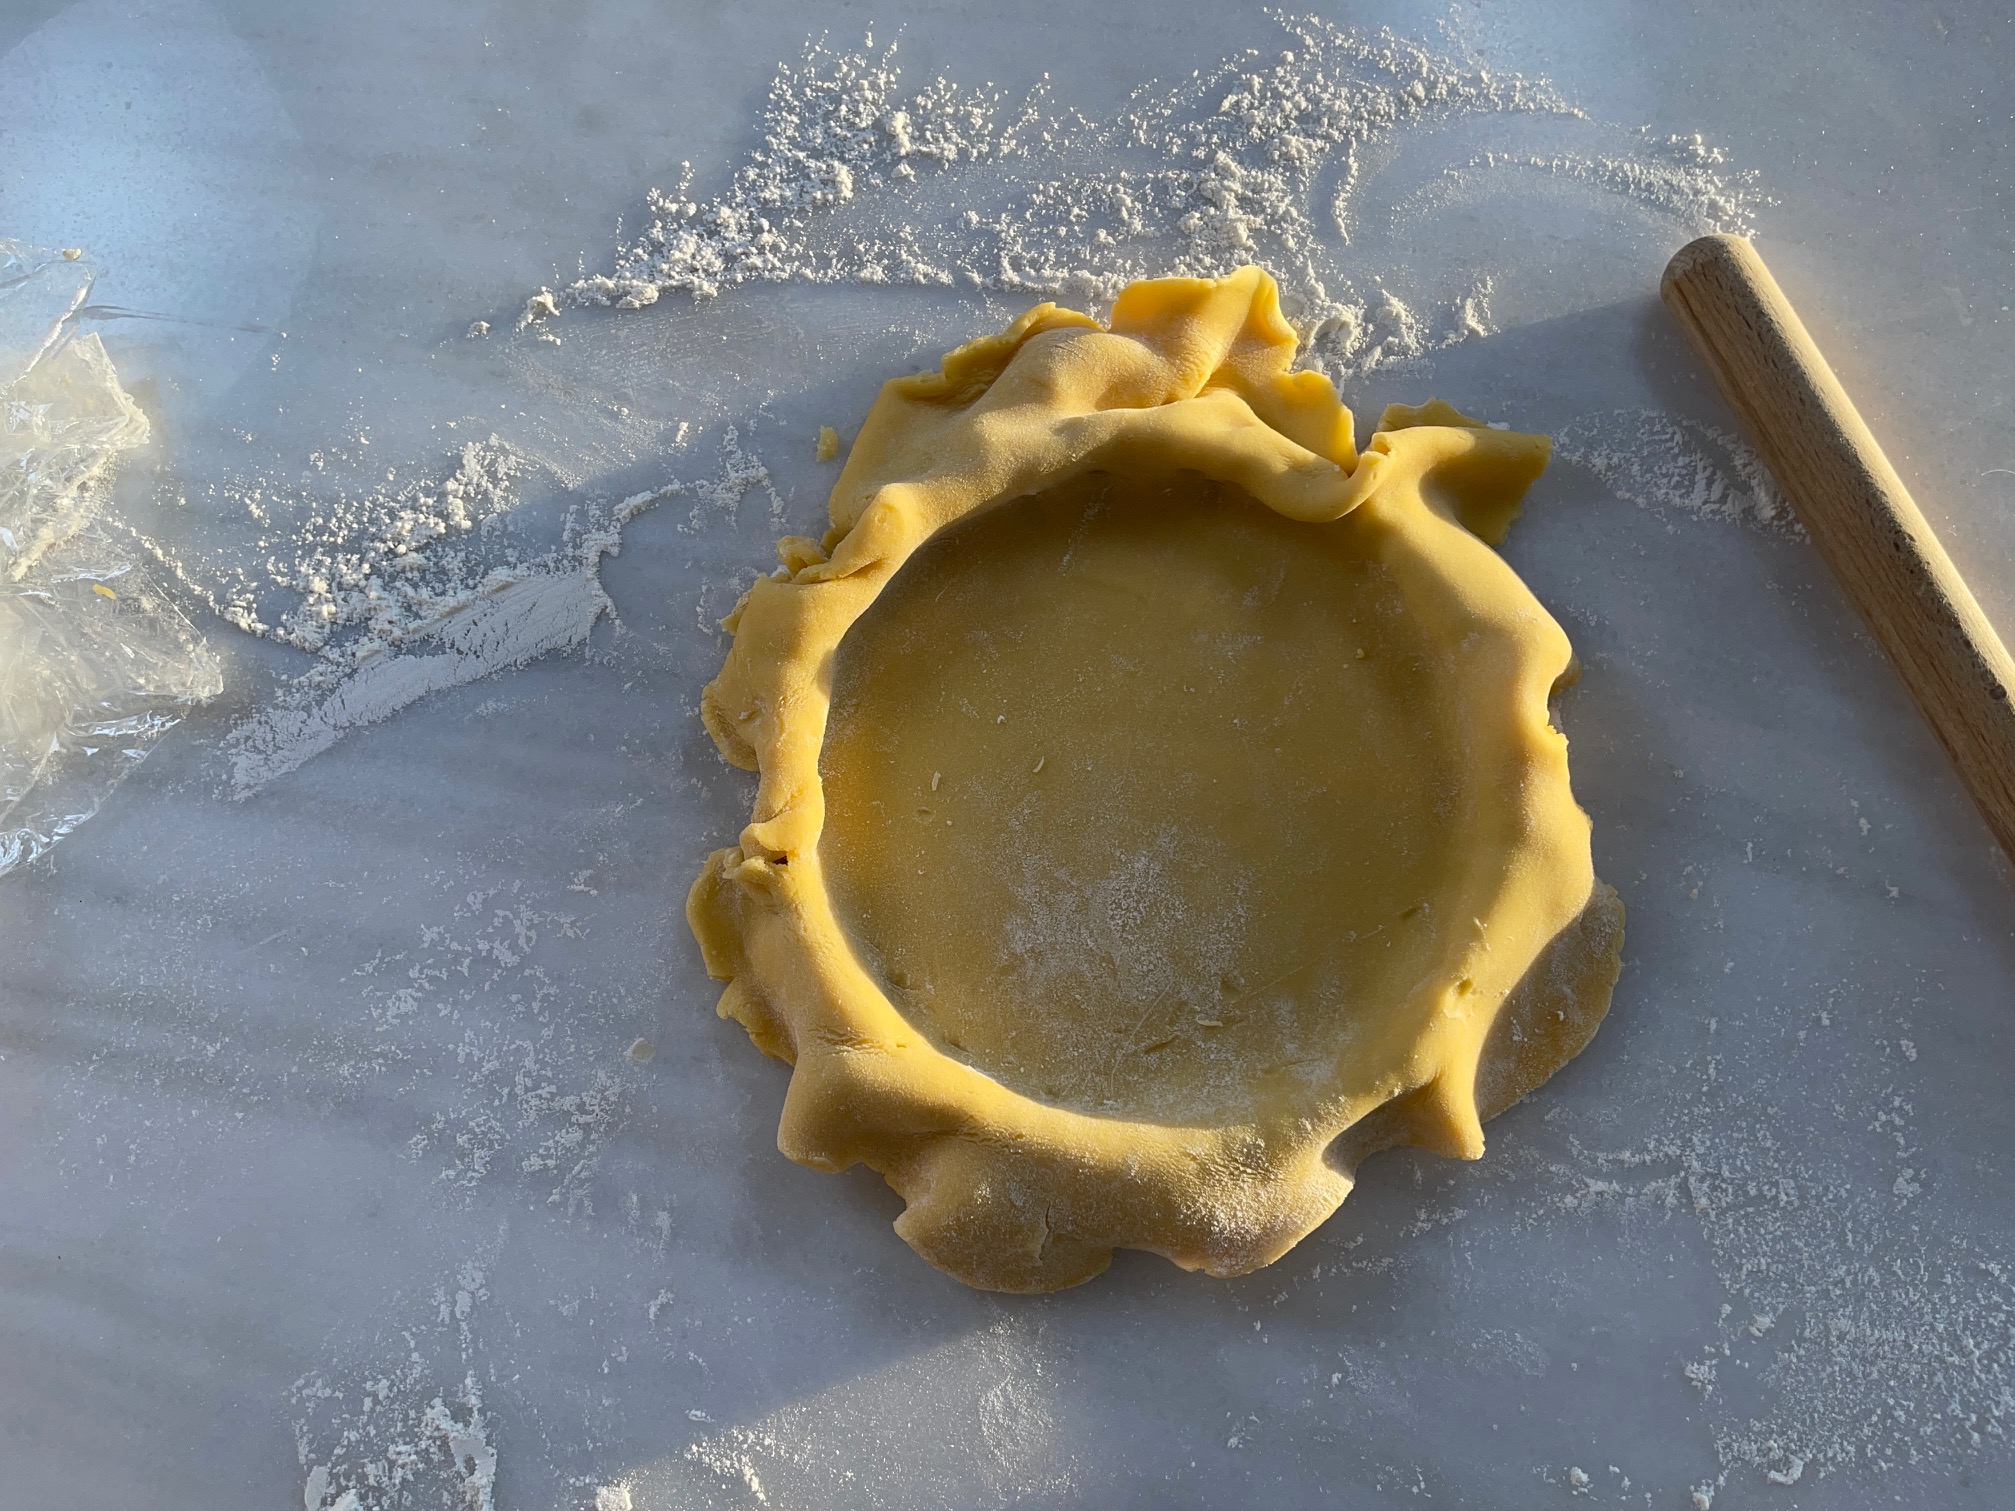
Pâte sucrée is the cornerstone of classical French pastry. Intensely buttery, crisp, and beautifully sweet, it serves as the perfect vessel for everything from fresh fruit tarts to rich chocolate ganache and velvety lemon curds.
While it might seem intimidating, mastering this foundational dough is incredibly rewarding. Today, I’m sharing the professional techniques to help you achieve a flawless, snap-crisp texture and that coveted, uniform Kitsune-iro—the perfect golden-brown bake.
What is Pâte Sucrée?

Understanding the differences between the three classic French crusts will completely change how you approach tart-making:
Pâte Sablée: Meaning “sandy dough,” sablée has an even higher fat-to-flour ratio and often incorporates almond flour. It is incredibly tender, delicate, and literally melts in your mouth like shortbread.
Pâte Brisée: A classic pie dough. It relies on cold chunks of butter rubbed into flour to create flaky, distinct layers. It contains little to no sugar and is highly versatile for both sweet and savory dishes.
Pâte Sucrée: Uses the creaming method (beating softened butter with sugar). The sugar coats the flour proteins, inhibiting gluten development. This yields a crisp, sturdy shell that resists moisture—perfect for liquid or less-moistened fillings.
The Science Behind the Ingredients

- Butter: Always use high-quality unsalted butter. It should be pliable but cool—ideally between 55°F to 64°F (13°C to 18°C). If the butter is too warm, it will oily-leak and absorb too much flour, making the crust tough.
- Sugar: Confectioners’ (powdered) sugar is essential here. Because it dissolves instantly into the butter, it creates a much tighter, finer crumb structure than granulated sugar, ensuring a smooth dough that snaps cleanly when bit into.
- Eggs: A combination of a whole egg and an extra egg yolk provides just enough moisture to bind the dough, while the lecithin in the yolk acts as an emulsifier, adding richness and tenderness.
- Flour: Pastry flour or cake flour is ideal for its low protein content, ensuring a delicate bite. If you only have All-Purpose flour on hand, handle the dough as minimally as possible to avoid developing unwanted gluten.
- Almond Flour (Optional but Recommended): Substituting a small portion of the flour with finely ground almond flour adds a beautiful, nutty aroma and introduces fats that yield a more tender, melt-in-your-mouth texture.
Pro Chef Tips for a Flawless Tart Shell

- Bake to “Kitsune-iro”: Do not pull your tart shell out when it is pale. To achieve the perfect texture and flavor development, bake it until it reaches a beautiful, deep golden-fox color (Kitsune-iro). This ensures the starch is fully cooked, keeping the crust crisp even after it’s filled.
- Keep it Cool: While traditionally brought together by hand directly on a marble work surface, a stand mixer works beautifully. The golden rule is to keep the ingredients cool. Work in a cool room, and chill your flour and eggs ahead of time if your kitchen is warm.
- Never Skip the Chill: Gluten needs time to relax, and the butter needs time to firm back up. Always rest your dough in the refrigerator for at least two hours before rolling, and freeze the lined tart shell for 15 minutes right before it goes into the oven to prevent the sides from shrinking.
Storage and Make-Ahead Tips

- Freeze: For seamless prep, roll the dough out between parchment sheets, wrap securely, and freeze for up to 2 months. You can also freeze completely shaped, unbaked tart shells directly in their pans, ready to slide straight into a hot oven.
- Refrigerate: Raw dough discs can be kept in the refrigerator for up to 3 days, wrapped tightly in plastic wrap.

Pâte Sucrée (Sweet Tart Crust)
Ingredients
Main Dough
- 113 g Unsalted butter pliable but cool, 55°F to 64°F / 13°C to 18°C
- 85 g Confectioners’ sugar powdered sugar
- 50 g Whole egg room temperature, approx. 1 large egg
- 20 g Egg yolk room temperature, approx. 1 large yolk (or 1 pc)
- 220 g Pastry flour or All-Purpose flour
- 1 pinch Fine sea salt
Optional Variation
- 25 g Almond flour if using, subtract 25g of pastry flour from the main dough ingredients
Instructions
Mixing the Dough
- In a small bowl, lightly beat the whole egg, egg yolk, and sea salt together with a fork until uniform. Set aside. Sift the pastry flour into a separate bowl to eliminate any lumps.

- n the bowl of a stand mixer fitted with the paddle attachment (or in a medium bowl using a sturdy spatula), beat the cool, softened butter and confectioners' sugar on medium-low speed just until smooth and creamy. Do not over-whip or incorporate excess air.

- With the mixer running on low speed, gradually stream in the egg mixture a little at a time. Allow each addition to fully blend into the butter before adding more to prevent the batter from splitting or curdling.

- Turn off the mixer and add the sifted flour all at once. Mix on the lowest speed for just a few seconds until the flour disappears and a cohesive dough begins to form. Stop immediately to prevent unwanted gluten development.

- Turn the dough out onto a work surface. Divide it into two equal portions, shape each into a flat, smooth disc, or square and wrap tightly in plastic wrap. Refrigerate for at least 1 to 2 hours (or ideally overnight) to let the gluten relax.

Rolling & Blind Baking
- Remove one dough disc from the refrigerator and let it sit at room temperature for 5–10 minutes until slightly pliable. Roll the dough on a well-floured work surface (dusting your rolling pin with flour as well), or between two sheets of parchment paper, to a uniform thickness of 3mm (⅛ inch).

- Gently peel off the top parchment sheet, invert the dough over an 8-inch or 9-inch tart pan or ring, and ease it into the bottom corners and up the sides. Trim the excess dough flush with the rim. Dock the bottom of the shell all over with a fork, then freeze the lined pan for 15–20 minutes.

- Preheat your oven to 350°F (175°C). Line the frozen tart shell with parchment paper and fill it to the top with pie weights or dried beans. Bake for 15 minutes, then carefully lift out the weights and paper.
- Return the uncovered shell to the oven for an additional 8–10 minutes. Bake until the entire crust reaches a gorgeous, uniform Kitsune-iro (deep golden-fox color). Let the shell cool completely on a wire rack before adding your fillings.
Notes
- The Golden Rule of Pastry: Always work in a cool kitchen. If the dough feels too soft or sticky at any point while rolling or shaping, slide it back into the fridge or freezer for 5–10 minutes before continuing.
- Why Confectioners’ Sugar? Powdered sugar dissolves seamlessly into the cool butter fat, creating a remarkably tight, fine crumb structure that snaps perfectly and resists absorbing moisture from fillings.
- Make-Ahead & Storage: Wrapped tightly in plastic, raw dough discs can rest in the fridge for up to 3 days. Alternatively, you can roll the dough out, wrap it securely, and freeze it for up to 2 months. You can even freeze pre-lined, unbaked tart shells directly in their pans so they are ready to bake at a moment’s notice!
